On Thursday, February 23rd, I will present at the WirelessLAN Professional Conference on how to Turn your Odroid into a WiFi monitoring sensor. This is part of the WLPC TEN talk series, in which presenters have ten minutes for their talks. It takes less than ten minutes for me to set up and connect an Odroid or a Raspberry Pi to the NetBeez dashboard, and this post will help all you WLPC attendees follow along more easily.
My idea for this talk came after reading about the maker session Building a portable WLAN performance testing device presented by Jerry Olla and Ferney Munoz. They will spend 90 minutes on how to use tools such as Iperf2/3, Ekahau eperf, SpeedTest, Zap and others to test the performance of wireless networks. Most of these utilities require a source host that sends traffic to a destination host to measure bandwidth, consistency of performance, latency, jitter, and other metrics. The maker session will give a great overview of these tools and help you pick up or brush up on some basic Linux command line skills.
These utilities are used ad-hoc, i.e. the engineer needs to set up the source and destination host, initiate the test, and collect the results. My talk will extend the maker session by demonstrating how to run these tests on remote devices connected to the cloud and use a GUI to run tests periodically or ad-hoc and access the results.
At NetBeez, we use Linux-based devices such as the Rasbperry Pi, Odroid, Up-Board, and in general, any Debian-based Linux box as sensors that you can deploy in your network. If you want to deploy a wireless sensor (and I’m sure the attendees of a WiFi conference will want to) you can do it as well.
GUI dashboard
The dashboard runs on the cloud and will be the GUI you will be using to access the sensors remotely, start tests, and collect the data.
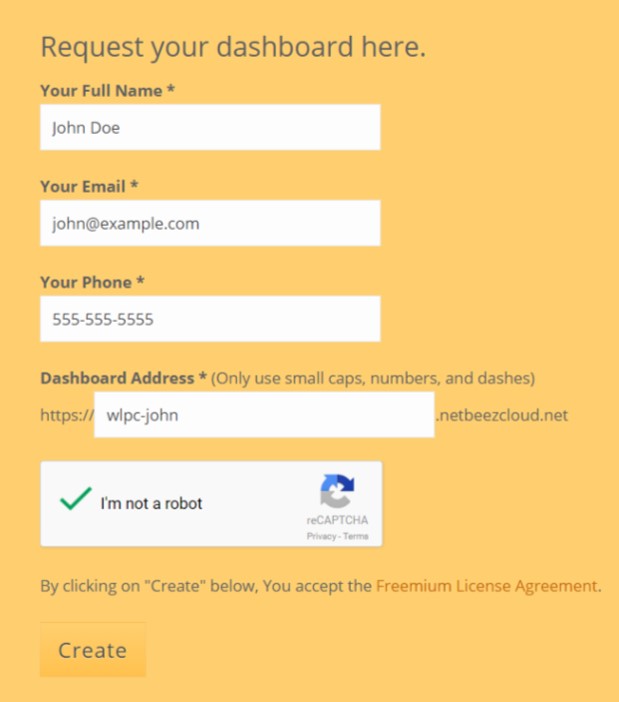
NOTE: I highly encourage you to sign up before the talk. From the time you click Create, it takes five minutes for your dashboard to come live. So, it’s better to get that out of your way before the TEN talk.
You will receive instructions by email on how to connect your device to your new dashboard. All it takes is logging into your device and running these two commands:
curl -L -O https://raw.githubusercontent.com/netbeez/agent-installation/master/agent_setup.sh
sudo bash agent_setup.sh --debian --secret=""
NOTE: if you use the Odroid from the maker session as is, use option “--debian” If you burn the NetBeez Odroid image use the option “--image”
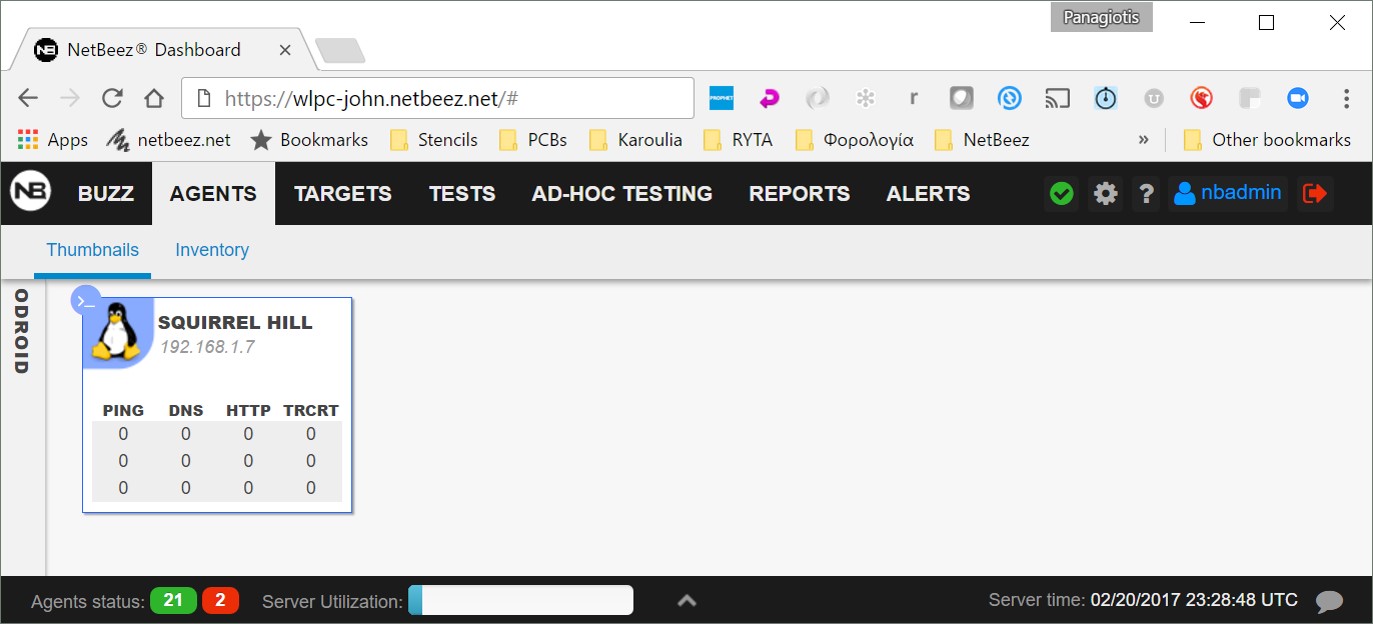
After that, take a look at your dashboard and you should see a thumbnail representing your device:
At this point your device is connected over the wired interface to the GUI. In order to make it a wireless device you need to connect it to a WiFi network. Configure a wireless profile by editing /etc/wpa_supplicant/wpa_supplicant.conf and making it as follows:
ctrl_interface=DIR=/var/run/wpa_supplicant
update_config=1
network={
ssid="PUT SSID HERE"
psk="PUT PASSWORD HERE"
scan_ssid=1
key_mgmt=WPA-PSK
}
NOTE: Make sure /etc/network/interfaces looks as follows:
# Local
auto lo
iface lo inet loopback
# Ethernet
auto eth0
allow-hotplug eth0
iface eth0 inet dhcp
# Wifi
auto wlan0
allow-hotplug wlan0
iface wlan0 inet dhcp
    pre-up wpa_supplicant -B -Dnl80211,wext -t -i wlan0 -c/etc/wpa_supplicant/wpa_supplicant.conf -f /var/log/netbeez/wpa_supplicant.log
    post-down killall -q wpa_supplicant
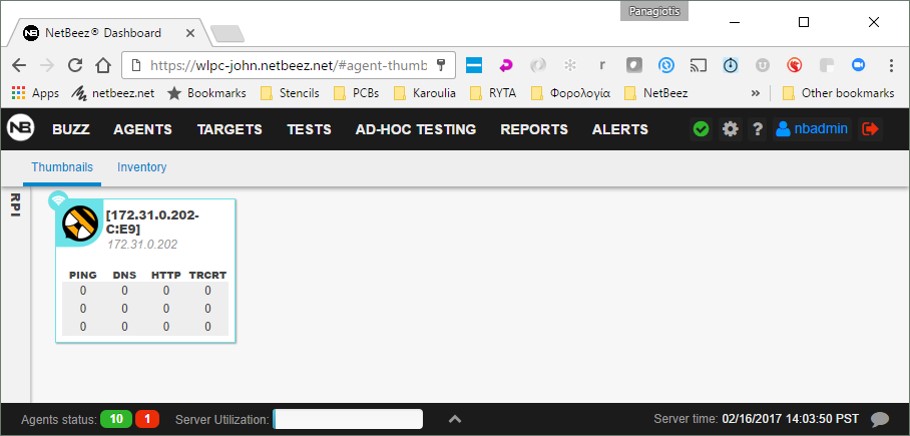
Now unplug the wired interface, plug in the Wifi Module 5 and reboot the device. On reboot it should connect to the wireless network and appear on your dashboard as a wireless agent.
Sensors
Wired sensors: The first time you connect your device to the dashboard, you do it over the wired interface, and the agent is considered a wired agent. For wired agents, you can use any Debian-based machine.
Wireless sensors: In order to convert the sensor to wireless, follow the instructions from this post. With wireless, it’s a tad more complicated because there are so many WiFi drivers, and chipsets out there, that’s it’s difficult to support all of them. Here is what we have tested and we know it works:
- RaspberryPi 3 with on-board WiFi (it’s only 2.4 GHz)
- Raspberry Pi with the following dongles:
- ASUS N53 (802.11abgn)
- ASUS AC56 (802.11ac)
- Hawking HD56U (802.11ac)
- LinkSys WUSB63 (802.11ac)
- TP-LINK T4U (802.11ac)

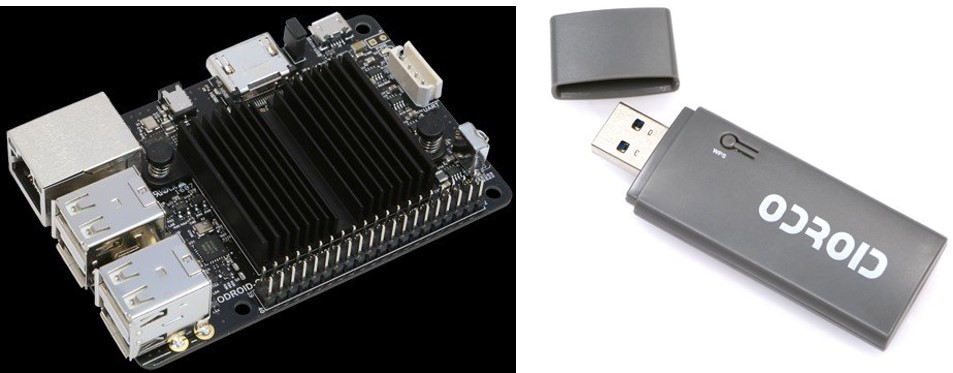
- Odroid C2 with Wifi Module 5
- Create a NetBeez dashboard
- Bring your own Raspberry Pis and Odroids
We’ll have a raffle with some preconfigured Raspberry Pis so that some of you will have your wireless sensors already set up.
Stay tuned and looking forward to meeting everyone in Phoenix!