When you configure SSID hopping on a wireless monitoring sensor it allows you to test different wifi networks in a round robin fashion. This strategy is very useful when you don’t want to deploy a dedicated sensor for each network available at one location. With the proper configuration, the same sensor will continuously cycle through multiple SSIDs. It will connect to the first one, execute monitoring tests, move on to the next SSID, and then repeat this sequence over and over. The benefits of SSID hopping include detection of problems with AP association, radius authentication, and DHCP addresses availability. On top of that, you can run network and application monitoring tests as usual.

SSID hopping in action on a NetBeez WiFi Beez. The red and green lollipops correspond to dissociation and association events with a wireless access point. In this example, the script changes SSID every 5 minutes.
SSID Hopping Installation Procedure
In the following procedure, I will show you how you can implement wireless SSID hopping on NetBeez. Since the WiFi Beez runs Linux, nothing prevents you from using this same hack on a regular Linux host. Please be aware that this is a quick and dirty procedure. I am sure that there are much more experienced Linux gurus out there that can come up with a more elegant script and solution.
Step 1: Request a NetBeez instance and create your WiFi sensor
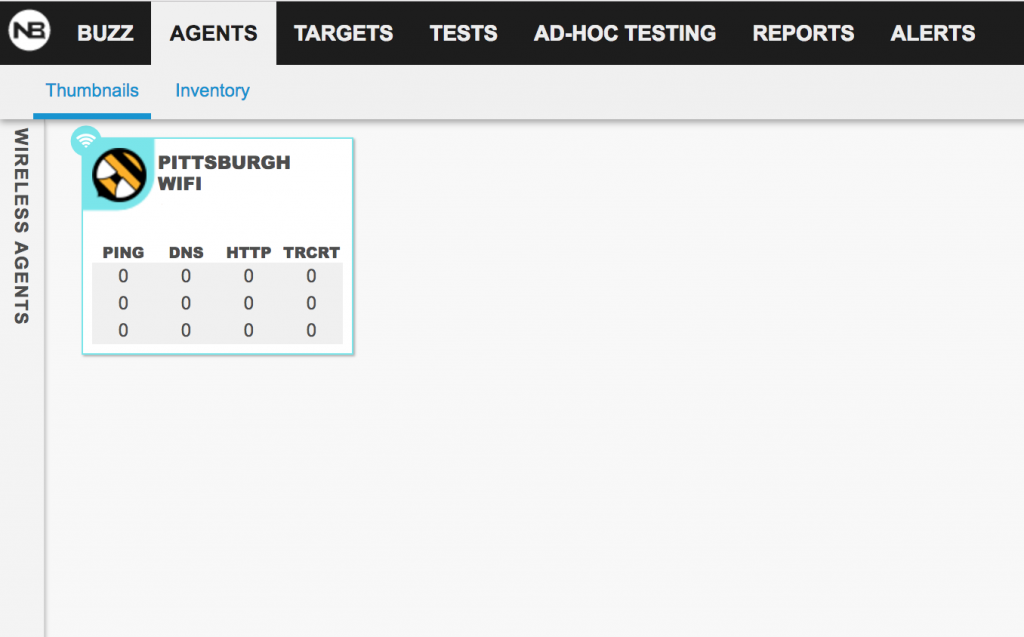
If you are new to NetBeez, you must sign-up to NetBeez and activate your WiFi sensor. At the end of this step, you will have your wireless sensor reporting to your NetBeez dashboard like in the screenshot below:
Please Note: All the commands run in this example will be executed as root.
Step 2: Create the WPA supplicant configuration files
You will have to create one wpa_supplicant.conf for each network that your wireless sensor should monitor. In this example, we are monitoring two networks, ssid1 and ssid2, both set to authenticate with WPA pre-shared keys. Below are the configuration files that we will store in a dedicated directory. Here, I picked /usr/local/ssid-hopping/ as the dedicated directory in which to store my files.
Here is the content of the configuration file for ssid1 that we will name wpa_supplicant.conf-1:
ctrl_interface=DIR=/var/run/wpa_supplicant
update_config=1
network={
ssid="ssid1"
scan_ssid=1
key_mgmt=WPA-PSK
psk="password1"
}
Here is the content of the configuration file for ssid2 that we will name wpa_supplicant.conf-2:
ctrl_interface=DIR=/var/run/wpa_supplicant
update_config=1
network={
ssid="ssid2"
scan_ssid=1
key_mgmt=WPA-PSK
psk="password2"
}
Step 3: Update the network configuration file
Now we need to modify the /etc/network/interfaces configuration file so that the SSID hopping configuration doesn’t conflict with other processes managing the WiFi interface (e.g. NetBeez). To do that, update the configuration file passed in argument to the wpa_supplicant command with the -c option from /etc/wpa_supplicant/wpa_supplicant.conf to /usr/local/ssid-hopping/wpa_supplicant.conf:
iface wlan0 inet dhcp
 pre-up wpa_supplicant -B -Dnl80211,wext -t -i wlan0 -c/usr/local/ssid-hopping/wpa_supplicant.conf -f /var/log/netbeez/wpa_supplicant.log
 post-down killall -q wpa_supplicant
Step 4: Create the script that will automatically reconfigure the sensor
The goal of this script is to update the /usr/local/ssid-hopping/wpa_supplicant.conf file at each run. I also saved this bash script in the /usr/local/ssid-hopping/ directory.
Here is the content of the change-ssid.sh script:
#!/bin/sh

rm /usr/local/ssid-hopping/wpa_supplicant.conf

if [ `cat /usr/local/ssid-hopping/script_ctrl` -eq "1" ]; then
	echo "Configuring SSID 1"
	ln -s /usr/local/ssid-hopping/wpa_supplicant.conf-1 /usr/local/ssid-hopping/wpa_supplicant.conf
	echo "2" > /usr/local/ssid-hopping/script_ctrl
elif [ `cat /usr/local/ssid-hopping/script_ctrl` -eq "2" ]; then
	echo "Configuring SSID 2"
	ln -s /usr/local/ssid-hopping/wpa_supplicant.conf-2 /usr/local/ssid-hopping/wpa_supplicant.conf
	echo "1" > /usr/local/ssid-hopping/script_ctrl
fi

ifdown wlan0
ifup wlan0
Make sure to save the script as an executable with the following command:
chmod +x /usr/local/ssid-hopping/change-ssid.sh
Create the control file used by the ssid-hopping.sh script:
echo "1" > /usr/local/ssid-hopping/script_ctrl
Step 5: Install the cron job
The last step to do is to install the cron job that will automatically execute the script every five minutes. You can change the interval to suit your needs. Refer to the cron manual if you want to learn more about working with cron.
Now edit the cron configuration file:
crontab -e
Finally, add this entry and then save:
*/5 * * * * /usr/local/ssid-hopping/change-ssid.sh
Conclusion
When we complete the procedure, the wireless sensor will start hopping through the two (or more) wireless networks that were configured. I hope that this blog post was beneficial for learning a new wireless monitoring technique that will help measure, and improve, the overall end-user experience of your network. I’d love to hear your feedback or answer any questions you may have.