Solution
Remote Worker Network Monitoring
Quickly troubleshoot issues with ISP outages, Wi-Fi, VPN, and more ..
Remote worker network monitoring is the practice of collecting network diagnostic data of remote employees that work at non-corporate locations. The shift to remote work disrupted established support processes, impacting employees' digital experience and productivity. NetBeez offers lightweight software clients that collect key metrics to diagnose issues caused by slow internet speeds, unstable VPN connections, bad WiFi, and more. By providing unparalleled visibility into connectivity analytics and diagnosis, NetBeez enables organizations to optimize their remote workforce and IT operations.
Collect WiFi, VPN, and ISP performance
Collect, analyze, and proactively address remote workers' network performance issues caused by:
- Network performance and Internet speed
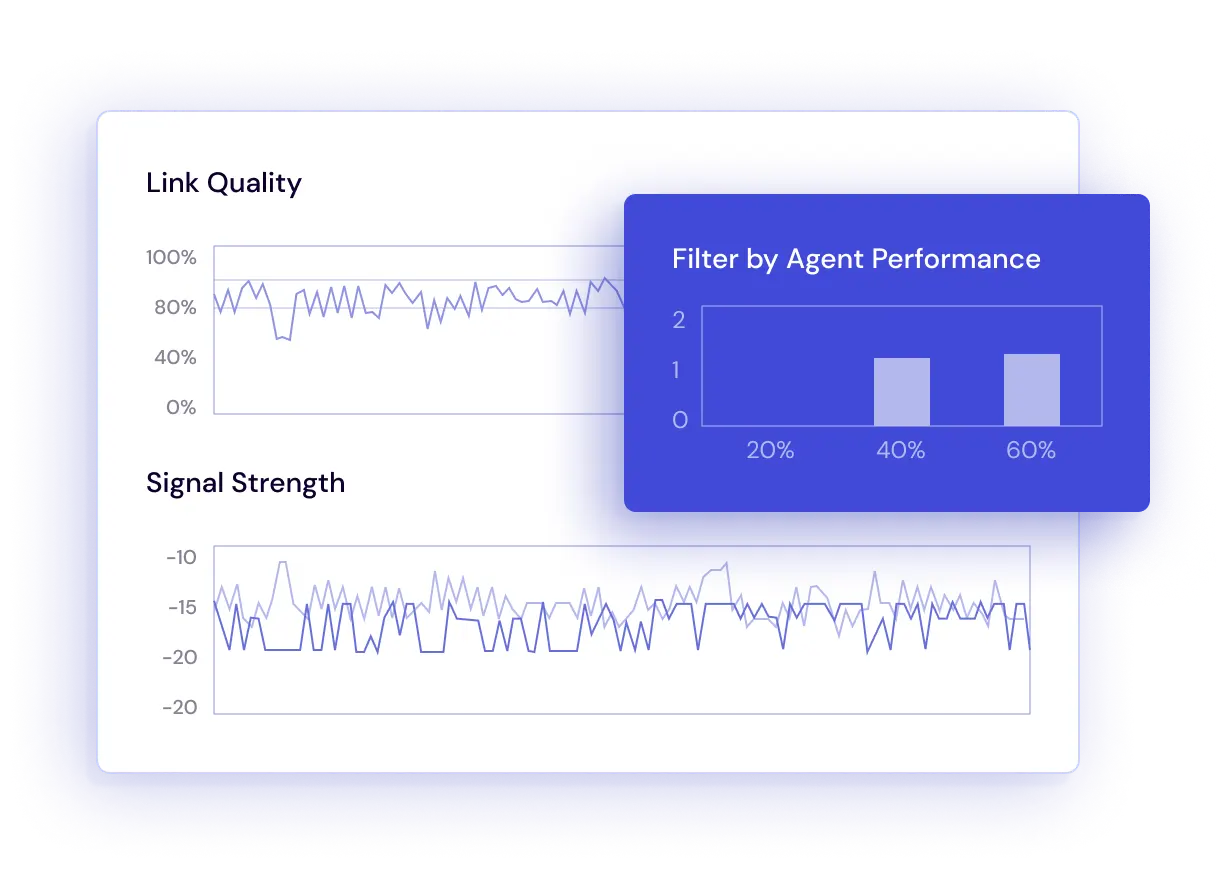
- Wi-Fi signal strength and quality
- Endpoint performance (CPU, RAM, Disk)
- VPN availability and performance
- Web and DNS performance
- VoIP call quality

Monitor SaaS and VoIP applications
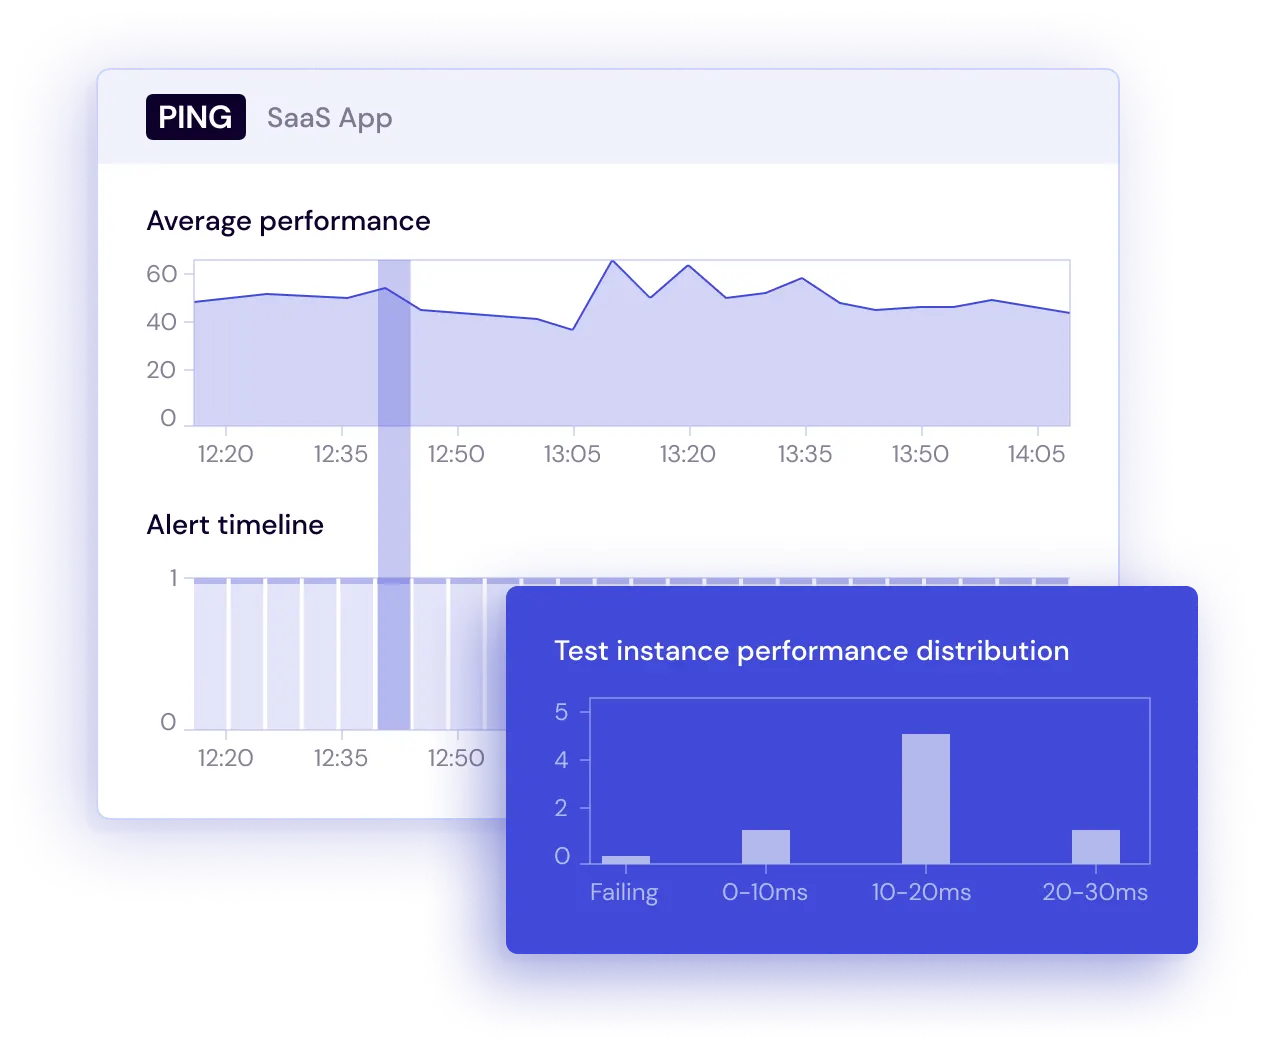
Understand the end-user experience of your remote workers to SaaS, internal application, voice and video conferencing systems. With NetBeez, infrastructure and operations team:
- Accelerate insight into remote user issues
- Reduce time required for root cause analysis
- Empower the help desk team to address user tickets
- Reduces tickets escalations to L2/L3 staff

Testimonials

USA
Network performance monitoring vendor NetBeez has introduced a new Work-From-Home Agent that extends granular, real-time visibility into end-user experience in any home office, thus closing the visibility gap created by the surge in remote workers.
VP of Research Network Infrastructure and Operations
Handle complex networks
See the issues from the user's perspective

Drive employee satisfaction with a flawless digital experience

Enable the Work-From-Anywhere enterprise
Get started with NetBeez
Request a demo
Check out the product and get professional consultation with our network engineering consultant.


